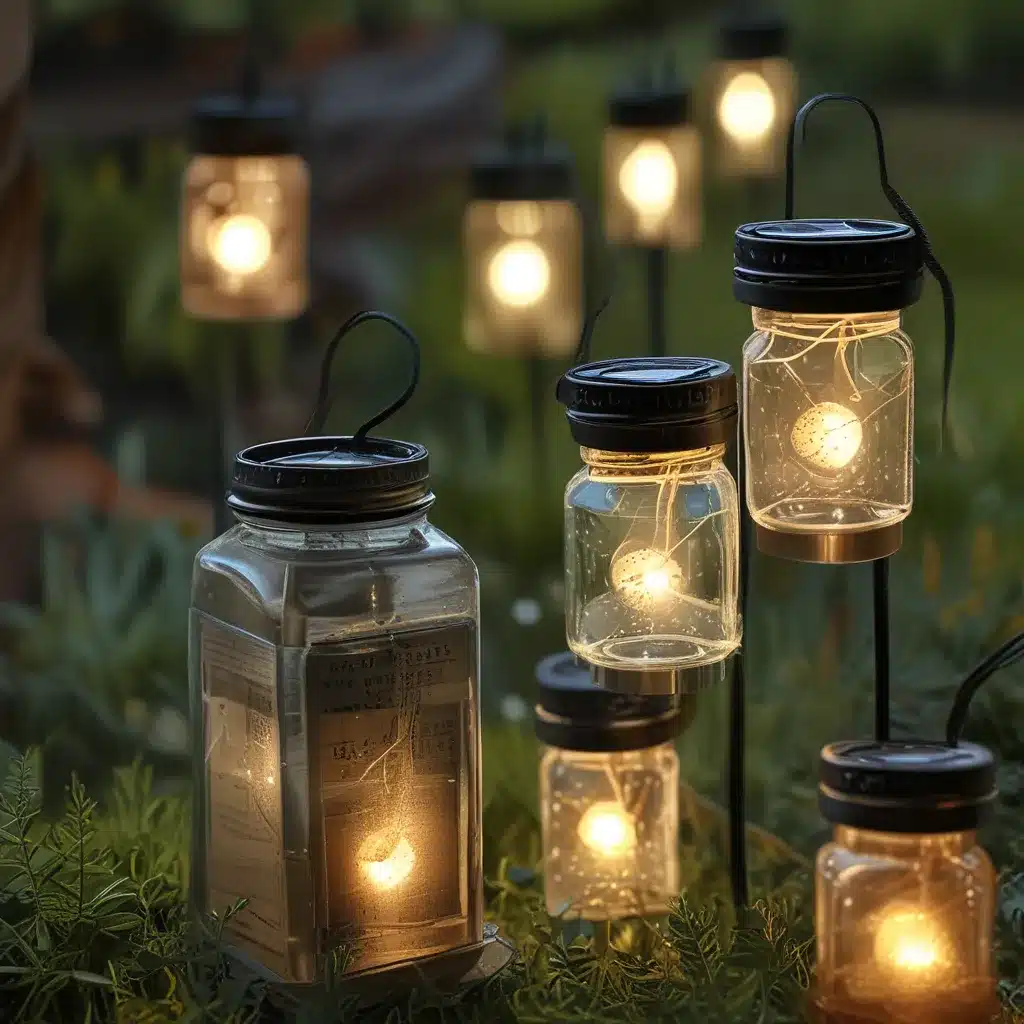
Let There Be Light (and DIY Fun)!
Ahh, the great outdoors – there’s nothing quite like it, is there? The fresh air, the chirping birds, the… darkness that descends upon your yard and garden once the sun dips below the horizon. Well, fear not, my sun-loving friends, because I’m here to shed some light on a brilliant (pun intended) solution: DIY solar lights!
Now, I know what you’re thinking – “Solar lights? Isn’t that a bit, well, nerdy?” Well, let me tell you, there’s nothing nerdy about harnessing the power of the sun to illuminate your outdoor oasis. In fact, it’s downright genius! And the best part? You can get in on the action with a little bit of DIY know-how.
The Bright Idea: Why Solar Lights?
Before we dive into the DIY nitty-gritty, let’s take a moment to appreciate the sheer brilliance of solar lights. First and foremost, they’re incredibly eco-friendly. By tapping into the abundant (and free) energy of the sun, you’re reducing your carbon footprint and doing your part to save the planet. Solar As Systems Inc., a leading provider of solar energy solutions, estimates that using solar lights can offset up to 2,000 pounds of carbon dioxide emissions per year. That’s the equivalent of planting 25 trees! Talk about a win-win.
But it’s not just the environmental benefits that make solar lights a shining star. They’re also incredibly practical and cost-effective. No more paying through the nose for your electric bill or constantly worrying about replacing batteries. Solar lights charge themselves during the day and automatically turn on at night, providing reliable illumination without the hassle.
And let’s not forget the aesthetic appeal. Solar lights come in a wide range of styles, from classic path markers to whimsical garden sculptures. You can use them to create a warm, inviting ambiance or to highlight the natural beauty of your outdoor spaces. It’s like adding a touch of magic to your yard and garden.
Shedding Light on DIY Solar Lights
Alright, now that we’ve established the benefits of solar lights, let’s dive into the fun part – the DIY aspect. I know, I know, the thought of tackling a DIY project might seem a bit daunting, but trust me, it’s not as complicated as it might seem. In fact, it can be a delightfully rewarding experience.
Gather Your Supplies
The first step is to gather your supplies. You’ll need a few basic items, which you can easily find at your local hardware store or online. Here’s what you’ll need:
- Solar light kits (or individual components like solar panels, LED lights, and rechargeable batteries)
- PVC pipe or wooden dowels for the light posts
- Adhesive or sealant (for securing the components)
- Tools like a drill, saw, and pliers (depending on your project)
Once you’ve got your supplies, it’s time to get creative!
Design Your DIY Solar Lights
The beauty of DIY solar lights is that you can tailor them to your specific needs and aesthetic preferences. Do you want path markers to line your walkway? Hanging lanterns to add ambiance to your patio? Or maybe even a whimsical solar-powered fountain for your garden? The possibilities are endless!
This video from the DIY Solar Lights channel offers some great inspiration for simple, yet stunning solar light projects. And this Pinterest pin showcases a variety of creative DIY solar light ideas that’ll have you dreaming of your own outdoor oasis.
Assemble and Install Your DIY Solar Lights
Once you’ve decided on your design, it’s time to put your DIY skills to the test. The assembly process will vary depending on the specific project, but the general idea is to securely attach the solar panel, LED light, and rechargeable battery components.
This informative video from The Handyman’s Daughter walks you through the step-by-step process of building your own DIY solar lights. Pay close attention to the instructions, and don’t be afraid to get a little hands-on. The satisfaction of seeing your creation come to life is truly priceless.
After your solar lights are assembled, it’s time to install them in your yard or garden. Consider the placement carefully – you’ll want to ensure the solar panels have optimal exposure to sunlight during the day. Once they’re in place, sit back, relax, and watch as your DIY masterpieces light up the night.
Illuminating Your Outdoor Oasis
With your DIY solar lights in place, your yard and garden are about to become the envy of the neighborhood. Imagine the warm, inviting glow of your path markers guiding guests to your backyard oasis, or the whimsical dance of light and shadow from your solar-powered fountain. It’s like a little slice of paradise, right in your own backyard.
And the best part? You get to bask in the glow of your own handiwork. Whenever you step outside at night and see the fruits of your labor shining brightly, you’ll feel a sense of pride and accomplishment that no store-bought lights could ever match.
So, what are you waiting for? Grab your tools, channel your inner DIY spirit, and let’s start illuminating your outdoor spaces with the power of the sun. Trust me, your yard and garden have never looked so good – or so eco-friendly.


