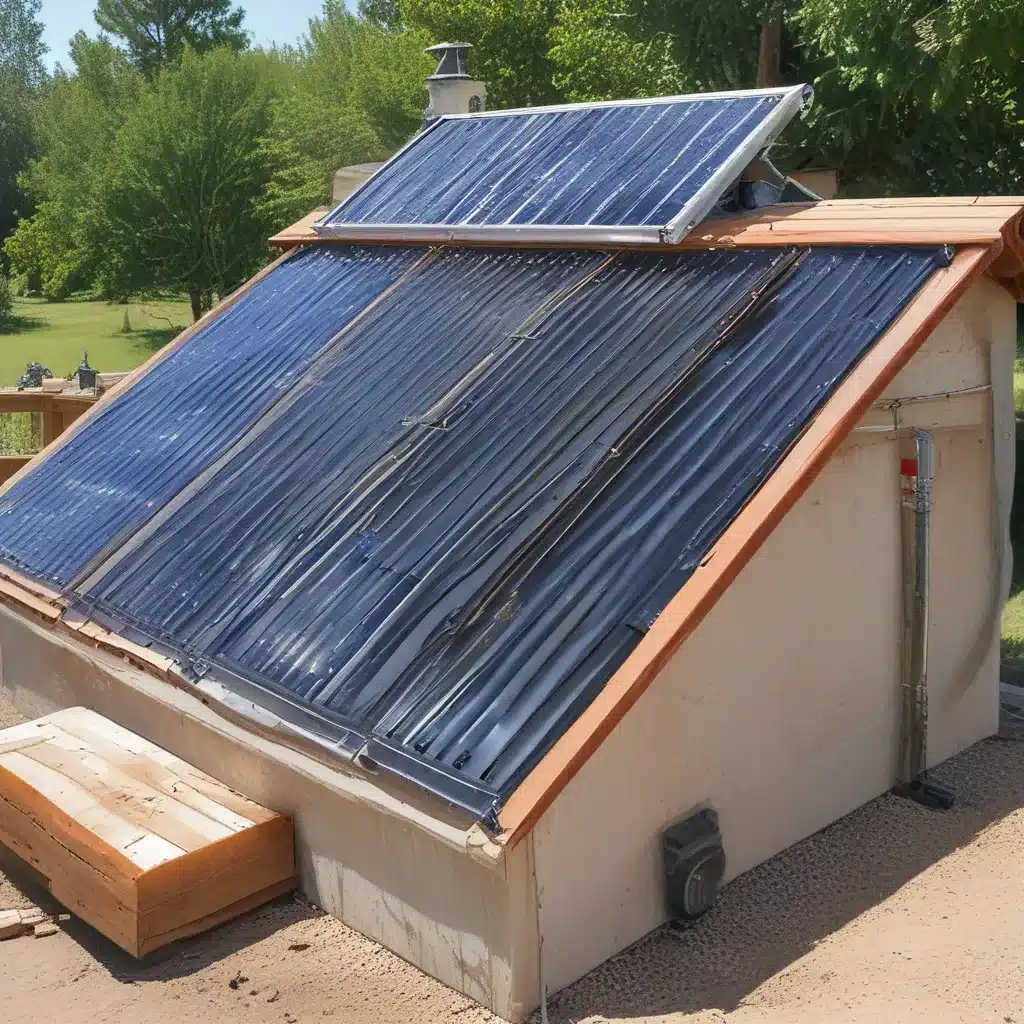
Unleashing the Power of the Sun: A Sizzling DIY Journey
Let me tell you a story, fellow sun-worshippers. It was a scorching summer day in Southern California, and my wife was on a mission – to find a greener way to keep our beloved hot tub toasty without breaking the bank on electricity bills. And that’s when the idea struck like a bolt of lightning (or should I say, a beam of sunlight?).
Harnessing the Sun’s Warmth
We started researching, scavenging the internet for the best DIY solar thermal solutions. That’s when we stumbled upon a game-changing tutorial on Instructables. The author, a fellow eco-warrior named Greg Horejsi, had built a solar hot tub heater using nothing more than a few simple materials from the local hardware store. “If he can do it, so can we!” I thought, as I rolled up my sleeves and gathered my tools.
Constructing the Solar Thermal System
The first step was to create the framework for our solar coil. We took the 20 feet of PVC pipe and cut it into four 5-foot sections, gluing them together with some good old-fashioned PVC cement. Now, I’ll admit, I’m more of a software developer than a carpenter, but even I could handle this part with ease.
Next came the tricky part – winding the coil. We set up a makeshift spool using a ladder and a pipe crossbeam, and my wife and son took turns guiding the hose as I walked in circles, like a carnival mule, slowly forming the spiral. It was a bit of a dance, but we managed to get the coil just right, fastening each loop with zip ties as we went.
Conquering the Roof
Once the coil was complete, it was time to tackle the real challenge – getting the whole setup onto the roof. We carefully maneuvered the “beast,” as we affectionately called it, up the ladder and onto the south-facing side of the house. To prevent it from sliding down, we tied a rope to the center of the frame and secured it on the north side.
Now came the plumbing part. We connected the garden hose adapters to the leads from the coil, hooking up the cold water feed and hot water return hoses. After charging the system with household water pressure, we connected the cold water feed to a pump in the spa and gave it a test run. Lo and behold, it worked like a charm!
Integrating with the Spa
The final step was to integrate our DIY solar thermal system with the existing plumbing of the hot tub. We mapped out the current water cycle and, after some trial and error, added a 3/4″ barbed T-fitting inline with the internal heater pump. The return from the roof was then fed back into the spa system, entering through a small vent at the bottom.
To ensure smooth operation, we installed a check valve to prevent the heated water from being recycled through the coil. We also added valves on the outside of the spa to allow us to isolate the coil plumbing for maintenance. And, just to be extra fancy, we wrapped the pipes in insulation – because, you know, if you’re going to do it, you might as well do it right.
Seeing the Results
With the system all set up, we couldn’t wait to see the results. And let me tell you, the numbers were sizzling hot! On the first day, we saw the water temperature in the spa rise from 82°F to 96.8°F – a whopping 164°F increase over the course of the day. And the best part? We barely had to use the electrical heating element, saving a ton on our energy bills.
Conclusion: A Sunny Solution
In the end, our DIY solar thermal system was a resounding success. Not only did it keep our hot tub toasty without racking up huge electricity costs, but it also gave us a serious sense of pride and accomplishment. If you’re looking to harness the power of the sun to heat your pool or hot tub, I highly recommend giving this project a try. Just head over to SolarASystemsInc.com to get started on your own sizzling DIY adventure.


